How To Use Printable Vinyl
A common assumption with transfer printing is that designs can end up looking cheap. However, if you use high quality materials, such as those we provide, this is not an issue. Here's a handy guide to using our printable vinyl...
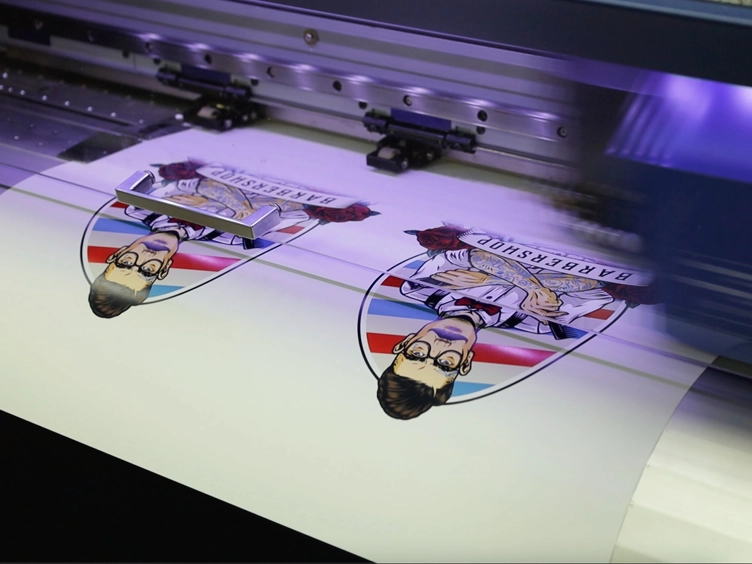
1. Load the media into the printer, then send your design to print & cut using the recommended profile settings. Once the design is printed, leave for the recommended drying time.
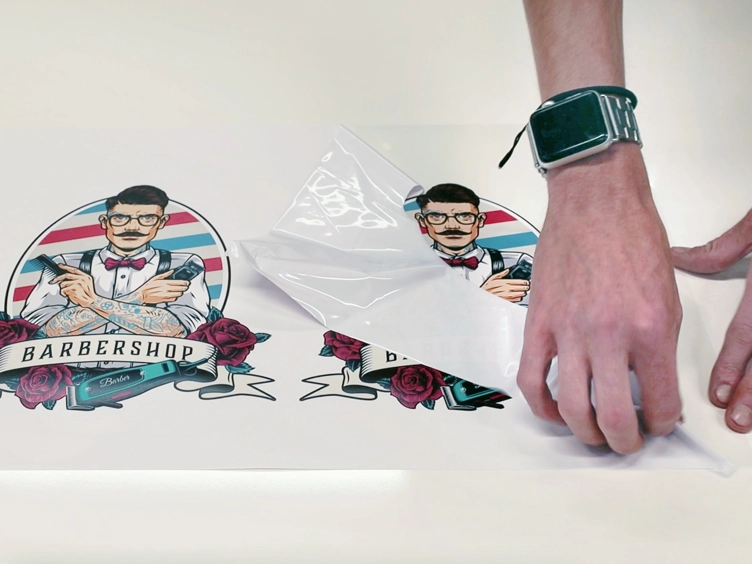
2. Once dried, weed away the excess vinyl.
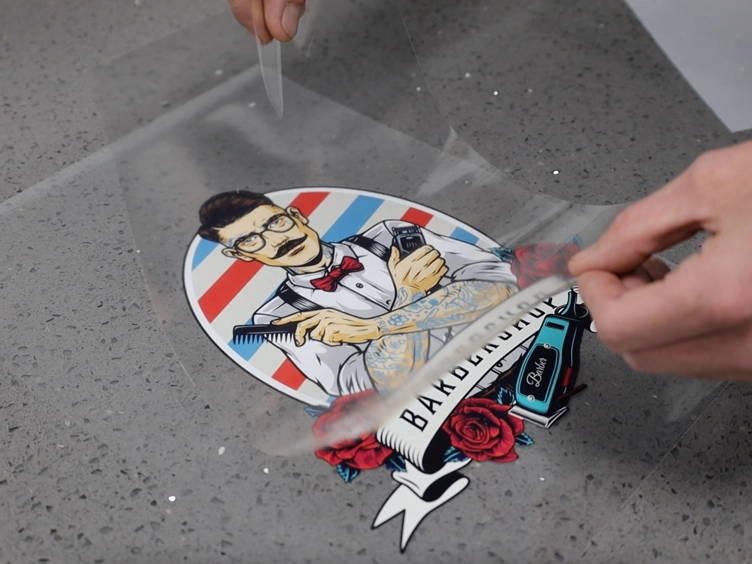
3. Apply application tape over the print and use a squeegee to remove any bubbles.
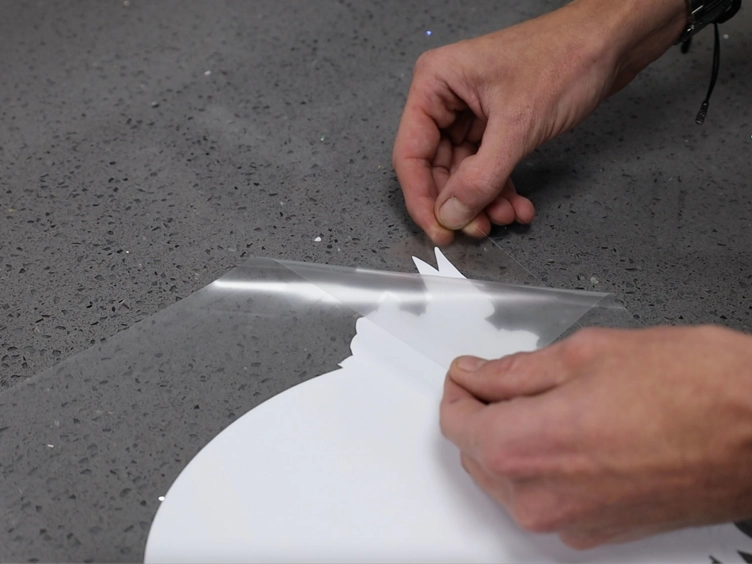
4. Turn over and then peel off the carrier in a smooth motion.
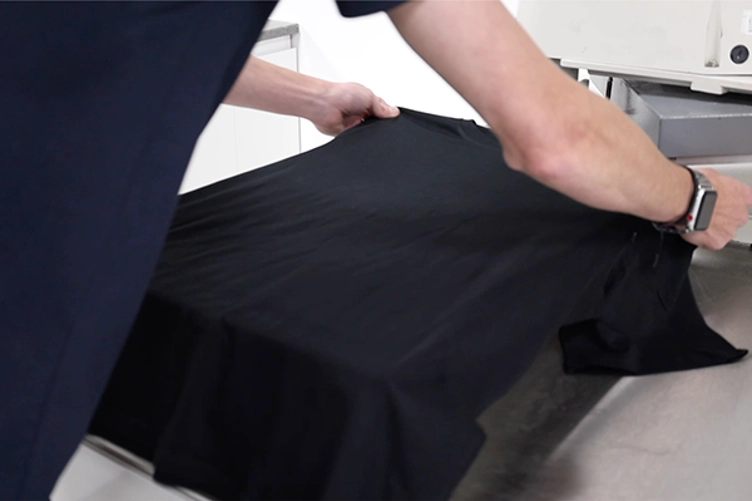
5. Place your garment on the heat press and pre-press for a few seconds to remove any creases.
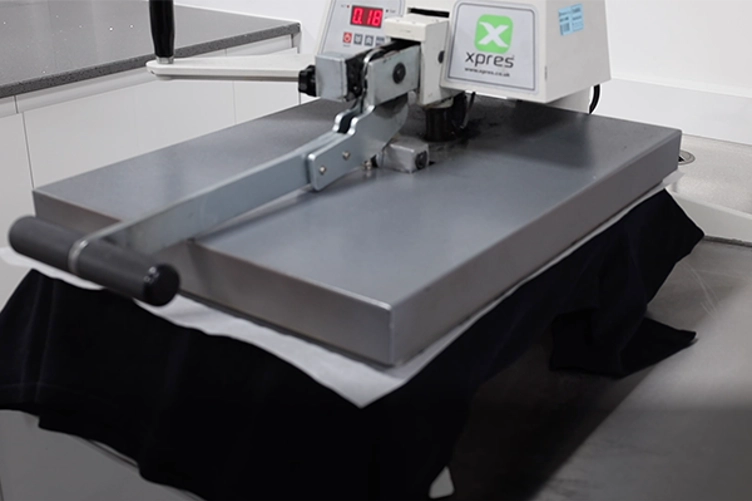
6. Position the transfer on the garment, cover with a silicone sheet and press using the recommended media settings.
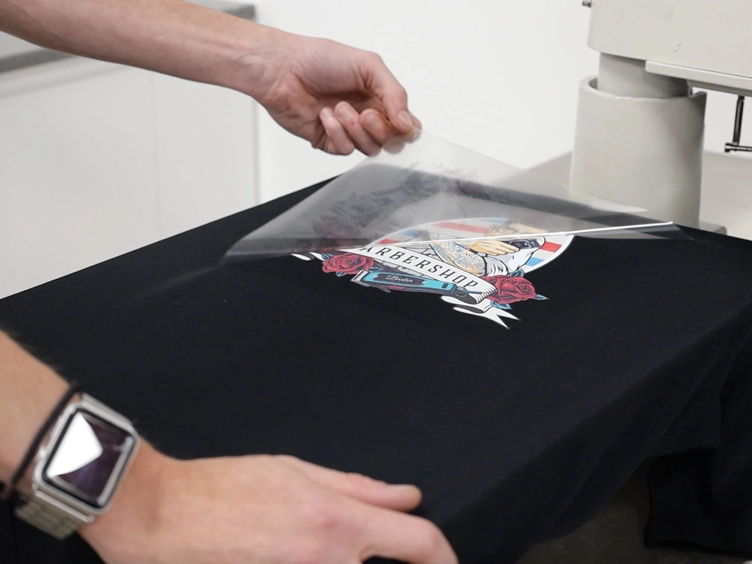
7. Once pressed, peel hot/cold following the recommended settings.
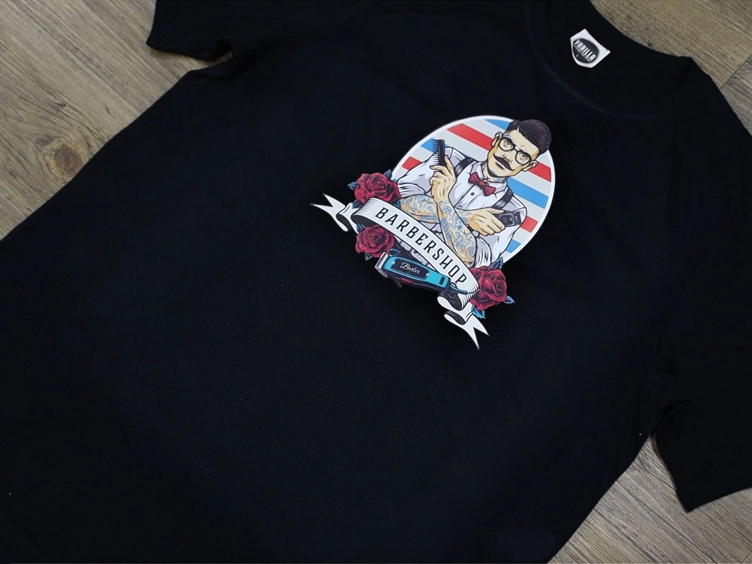
8. Your garment is ready!
Ideal for smaller garment runs featuring the same design
High-quality printing replication
Full-colour designs
Fast process, perfect for same day and next day delivery services
No set up charges
Easy storage when designs are printed on paper
Cost-effective for small quantity orders
Shorter production time than DTG (when orders are up to 250)
No need for high skill and has low reject rates.
Certain effects and textures are only available by transfer
Inexpensive equipment
Low storage costs
1. Will my design look low quality using vinyl?
A common assumption with vinyl is that they end up looking cheap. However, if you use high quality materials, such as those we provide, this is not an issue.
2. Will the vinyl crack or fade?
Your garments should last a good amount of time without the design fading or cracking. We provide high-quality vinyls and paper to prolong durability.
3. Can I use dark and light garments for transfer printing?
Yes this method is fine for either. The key thing to remember with dark colours is that the garments will feel thicker than the white ones whereas the fabric that is going to be used for whiter garments is going to be thinner since it is transparent.

